Managing diabetes at home begins with regular monitoring of your blood glucose levels. For many beginners, using a sugar level check machine might feel confusing at first. However, once you understand the basics, it becomes a simple daily routine that can help prevent complications and improve your overall health.
In this guide by BeatO, we’ll walk you through how to use a blood sugar testing device correctly and explain the essential tips to ensure accurate readings every time.
Why Monitor Blood Sugar at Home?
If you or a loved one has been diagnosed with diabetes, tracking your glucose levels regularly is crucial. It helps:
- Identify patterns and triggers that raise or lower your sugar levels.
- Make better decisions about food, exercise, and medications.
- Detect sudden highs (hyperglycemia) or lows (hypoglycemia).
- Avoid long-term health issues related to uncontrolled diabetes.
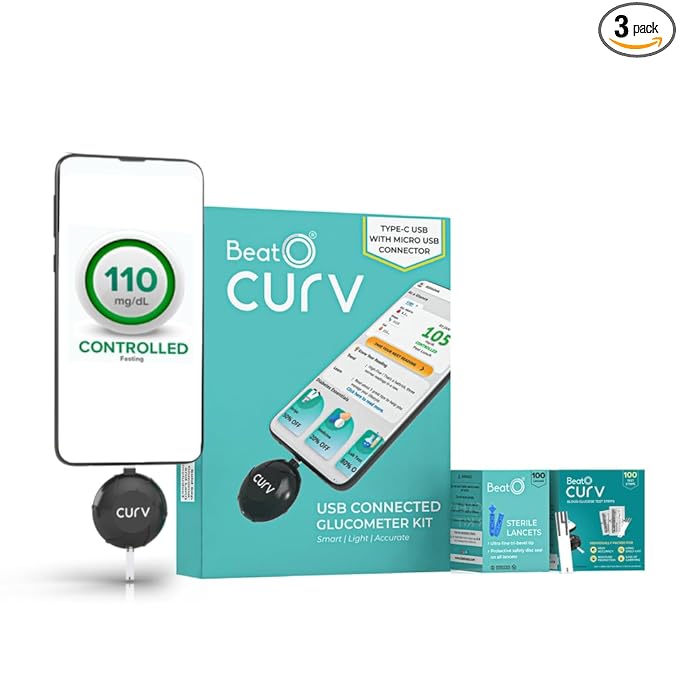
With smart solutions like the BeatO smart glucometer, checking your sugar levels at home has never been easier. These devices are compact, connected, and designed for user-friendly operation.
What Is a Sugar Level Check Machine?
A sugar level check machine, also commonly referred to as a blood sugar test machine, is a compact electronic device that measures the concentration of glucose in a small sample of your blood.
There are various types of devices available today—some are basic models, while others, like BeatO’s glucometer, are smartphone-connected and offer real-time insights through an app.

What You Need Before Testing
To begin monitoring your blood sugar at home, gather the following items:
- A sugar checking machine (glucometer)
- Compatible test strips
- Lancet device and sterile lancets
- Cotton or alcohol swabs
- A mobile app or logbook (BeatO App stores data automatically)
Step-by-Step Guide to Using a Blood Sugar Test Machine
1. Wash Your Hands
Start by washing your hands with soap and warm water. Dry them thoroughly. Clean fingers ensure a more accurate reading by removing any residue that could affect the blood sample.
2. Prepare the Machine
Insert a test strip into the slot of your sugar measuring machine. This usually powers on the device automatically. If not, press the power button manually.
3. Load the Lancet
Insert a sterile lancet into the lancet device and adjust the depth setting based on your skin type. This tool helps you prick your finger with minimal discomfort.
4. Prick Your Finger
Choose the side of a fingertip (preferably not the thumb or index finger). Use the lancet device to prick your skin and allow a small drop of blood to form.
5. Apply Blood to the Strip
Touch the drop of blood to the edge of the test strip. The sugar checking machine will automatically draw in the sample. Within a few seconds, your glucose level will appear on the screen.
6. Review and Save the Reading
Record your result in a notebook or let the BeatO App log it automatically. Over time, this log helps you and your healthcare provider track trends and make informed decisions.
7. Dispose of Used Materials
Carefully discard the used test strip and lancet in a medical waste container or a tightly sealed plastic bottle to avoid injury or infection.
8. Store Your Equipment
Clean the device with a dry cloth and store it in a safe, cool place. Avoid humid or dusty environments to preserve accuracy.
Tips to Ensure Accurate Results
Getting the most from your sugar level check machine involves consistency and care. Here are a few practical tips:
- Don’t reuse lancets or strips. Always use fresh materials.
- Avoid testing with cold hands. Warm fingers improve blood flow.
- Don’t squeeze the finger too hard. It may dilute your sample.
- Store strips properly. Keep them in a dry container away from light.
- Test at consistent times. This could be before meals, after meals, or as advised by your doctor.
How Often Should You Test?
The frequency of testing depends on your type of diabetes, medications, and treatment goals. Generally:
- Type 1 diabetes: 3–4 times a day
- Type 2 diabetes (on insulin): 2–3 times a day
- Type 2 diabetes (on oral meds or diet-controlled): Once or twice daily, or as recommended
With tools like BeatO’s blood sugar test machine, you can manage these checks efficiently. The app even sends reminders so you never miss a reading.
Why Choose BeatO for Home Sugar Monitoring?
BeatO provides a modern approach to diabetes care. Their sugar measuring machines are not just easy to use—they’re smart, affordable, and connected. Here’s what makes BeatO stand out:
- Mobile App Integration: Tracks readings, sends reminders, and shares data with doctors.
- Doctor Connect: Instant reports to healthcare professionals.
- Health Coach Support: Personalized tips to manage your lifestyle better.
- Compact Design: Fits in your pocket for easy travel and daily use.
Whether you’re newly diagnosed or have been managing diabetes for years, BeatO helps simplify your routine.
Final Thoughts
Learning how to use a sugar level check machine at home is a vital step toward managing your health. With a little practice, you’ll find it becomes second nature. Just follow the correct steps, stay consistent, and trust tools like BeatO to support your journey.
Diabetes management doesn’t need to be complex—with the right guidance and devices, you can take control of your health from the comfort of your home.
Looking for a reliable, easy-to-use glucometer?
Try BeatO’s range of smart blood sugar test machines and experience stress-free sugar monitoring, backed by technology and expert care.